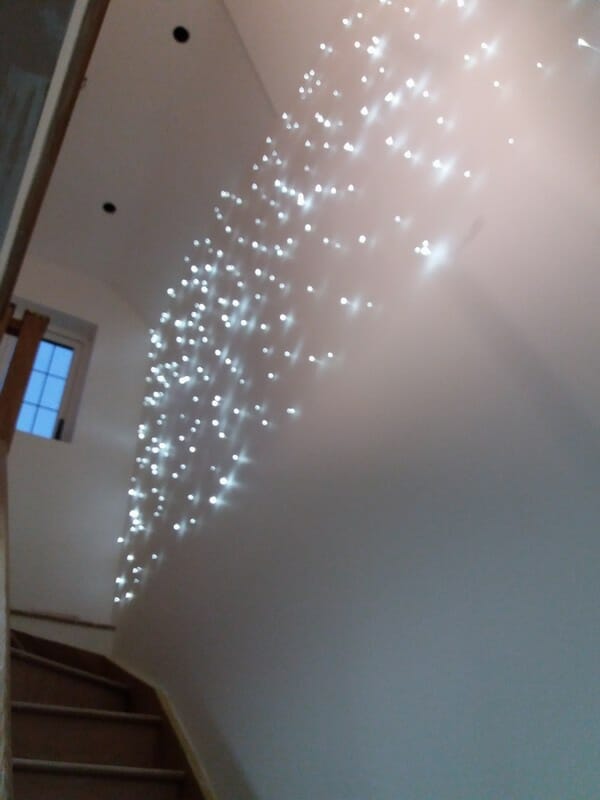
Thanks are due to Sara Lee for her very comprehensive details about her interesting project which involved fitting fibre optic stars to the wall above a staircase.
As part of a refurbishment project a new wall was being built at the top of a staircase and Sara hit on the idea of fitting fibres to the stud wall during the course of its construction. Since there’d be easy access behind the plasterboard while the stud wall was being built, this provided an excellent opportunity to permanently seal the fibres in place. There’s no heat or electricity in the fibres and once fitted they’ll be good for decades of service.


noggins to pass the fibres through from one bay to another. Once the fibres were all in place the wall would be sealed with a second layer of plasterboard and form the inside of a storage area.
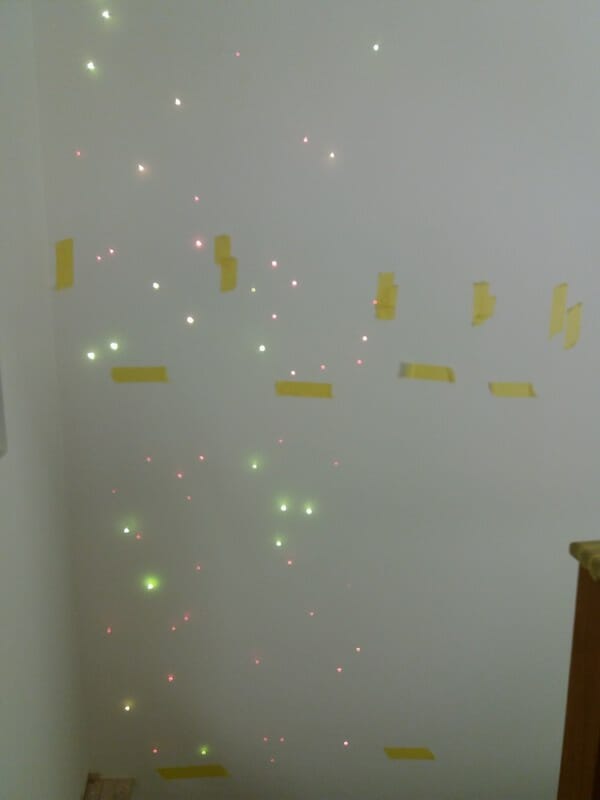
The low-tack tape is used to manage the fibre bundles.


“This installation took 1.5 days with 2 people doing it,” said Sara. “Because I was doing a wall, one of us drilled the holes and the other sat the other side of the wall poking the fibres through. We did not find the silicone satisfactory to hold the fibres in place – and used superglue in the end. If we were doing a ceiling then it would be highly unlikely that anyone would touch or knock your fibres. However for me, mine can be touched and I therefore needed to make sure they were very securely in place – given that I would never to be able to access the other side of the wall again.
“Dealing with 6 metres of fibres was a little tricky and my advice would be: Keep them in the sleeves they arrive in and think about how you’re going to install them before letting them loose! Rather than whipping the sleeves they arrive in off in one go, remove them about 30/40 centimetres at a time and tape the fibres with low tack tape, and continue until you get to the end. This really helps keep them under control – otherwise you’ll end up with a great big spaghetti mess. We switched the lightbox on and watched which fibres changed colour first so that we got them one side of the wall. We had 10 sections on the wall and separated ours into 30ish for each section. They do get tangled quite easily – and we used low tack masking tape to bunch ours in sections. We also taped the very ends to protect them whilst pushing them through the studwork.

”This project was great fun,” concludes Sara, “and Peter from Starscape was very helpful when I rang for advice. If you’re thinking of installing a fibre project in your house then do! They are visually stunning. Spend some time thinking about how to install your project, and don’t expect that it will be done quickly. It does require some time and patience – but the best things come to those who wait. Dealing with 300 x 6 metre fibres was a little like dealing with a bunch of unruly toddlers at times, but patience paid off – and we all love the end result.”
