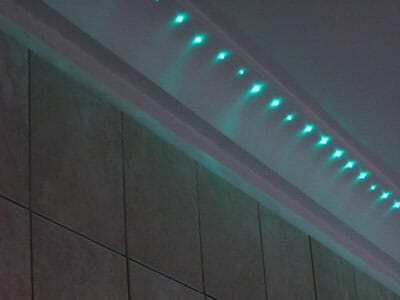
This is the effect described in Project 4 – creating mood lighting through small lights spaced along the coving around a room. This was part of a major refurbishment of a bathroom, and was just one of three separate fibre optic lighting schemes illuminated by a single halogen light source.
The basic methodology is simple enough: holes are drilled in the coving at the preferred spacing (chiefly a matter of taste) and the fibres pushed through from the back of the coving. Each fibre is cut to a length sufficient for it to run along the back of the section of coving, through a hole in the ceiling to a light source located in the attic above. The profile of the coving is such that there is a void at the back with ample space to contain the fibre runs.
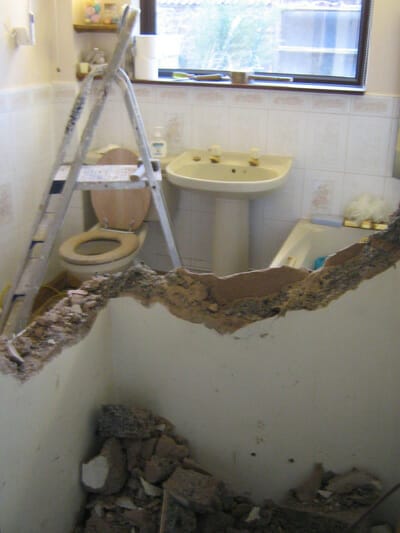
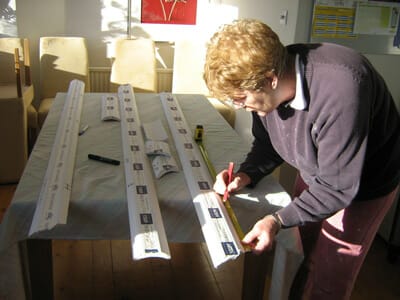
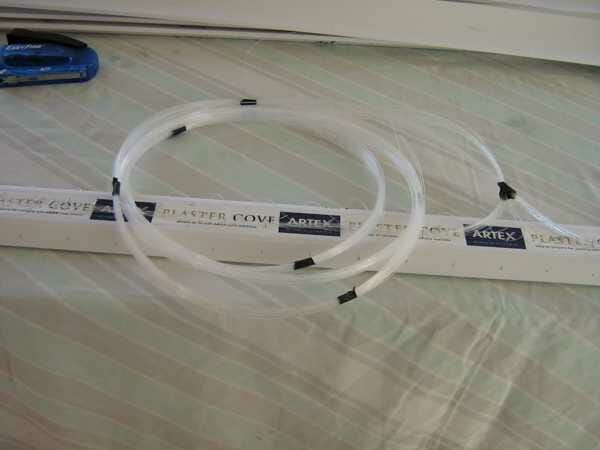
As part of the project, the original coving was removed and new coving purchased. In the photo below, project co-ordinator Janet is marking up the sections of coving prior to cutting them to the required lengths.
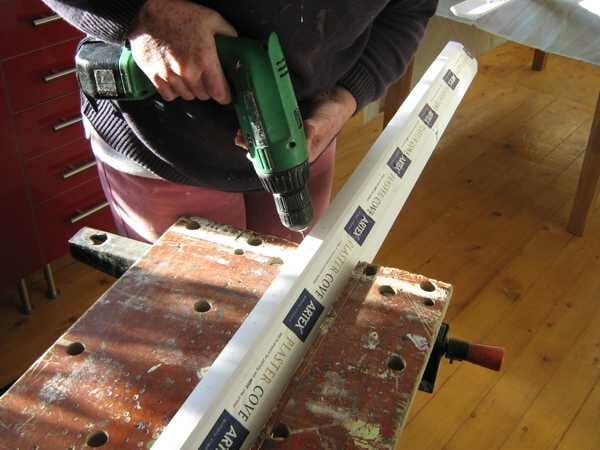
The next step was to drill 1mm holes in a row along the coving – in this case at 5 cm centres. The 1mm optical fibre was then pushed through these holes from the back and left to protrude a few centimetres.
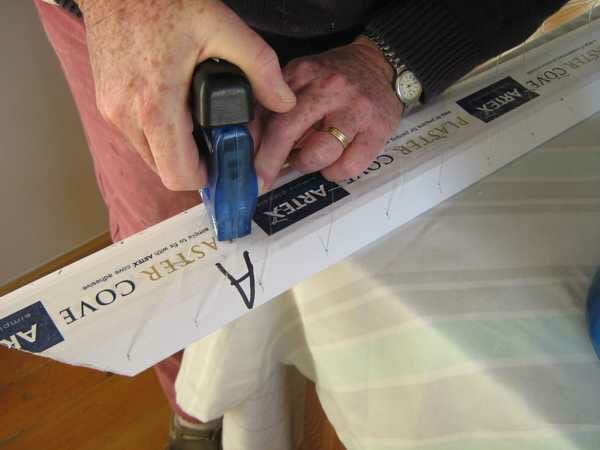
The individual fibres were stapled in place at the back to ensure that they ran in a neat bundle or harness in the void between the wall and coving. This was a heavy duty stapler and proved a bit too aggressive for the fibres until a technique was worked out to fire the staples just above the surface of the coving so as not to pinch the fibre too tightly.You can see here that the back of this section of coving has been marked with an identifying letter “A” to ensure it goes in the right place when the time comes to fix it to the wall.
Once all of the fibres in a particular section were in place, the fibres were gathered in a neat coil, ready for installation. Holes were drilled in the ceiling to correspond to the end of each coving section, in order to allow the fibre bundles to pass through into the attic.
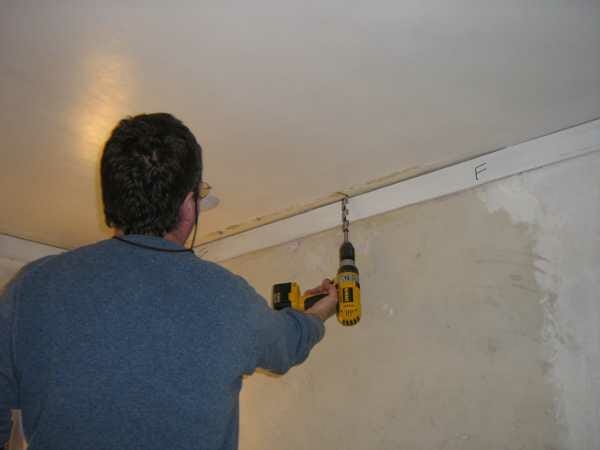
optical fibres to pass through to the attic above.
As each section of coving (11 in all, including short corner pieces) was glued to the wall-ceiling junction, its harness was passed through into the attic. These were all then gathered up to meet as a single thick harness terminated in a “common end” ferrule to plug into the optical port of the light source.
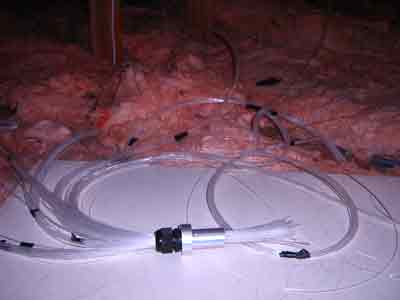
common end ferrule. You can see the fibres protruding from the
front of the ferrule – they’ll be cut back flush with the end and then
polished.
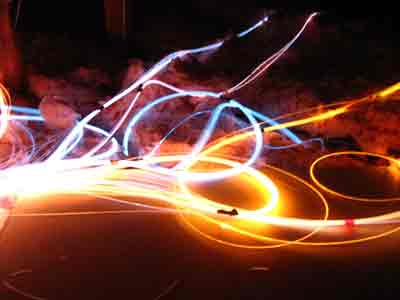
strands run off to the various sections of coving.
Once the sections of coving were set in place, the protruding fibres could be trimmed back to length. The fibres can be trimmed back flush with the surface, but in this case a better effect was achieved by having each fibre protrude by about 3mm. This creates a halo of reflected light on the coving behind each fibre and increases the overall lighting effect.
about failed bulbs or LEDs.
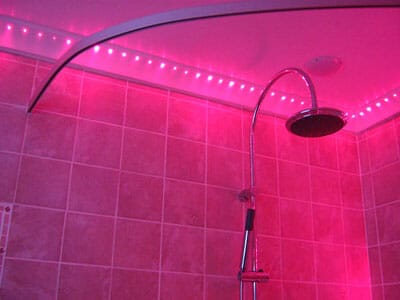
This project uses a 100 watt halogen light source fitted with a colour wheel which rotates to change the colours over the course of a minute. It also has the option of stopping the colour wheel on a single colour to suit the mood of the evening.
