This is a project which shows just how effectively fibre optic lighting can be incorporated in tiled walls. It’s not a complicated task, but it does require planning and attention to detail, and our customer Christine A has done a really excellent job.
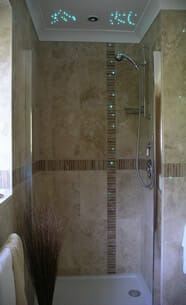
There is just a single halogen light source being used here. The light source sits in the attic above the bathroom and the fibres run from that point to different areas of the bathroom. The stars above the shower enclosure are inserted in the standard way for a star ceiling project – ie holes drilled in the plasterboard and then the fibres pushed through from above. The fibres are glued in place with something like silicone or our Simsons ISR acrylic adhesive, and the protruding fibres trimmed back from below.
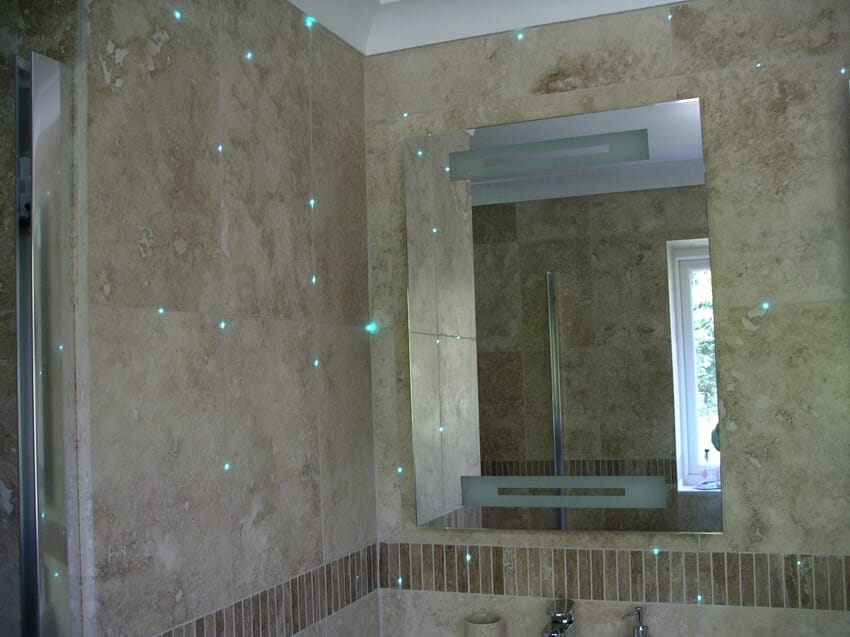
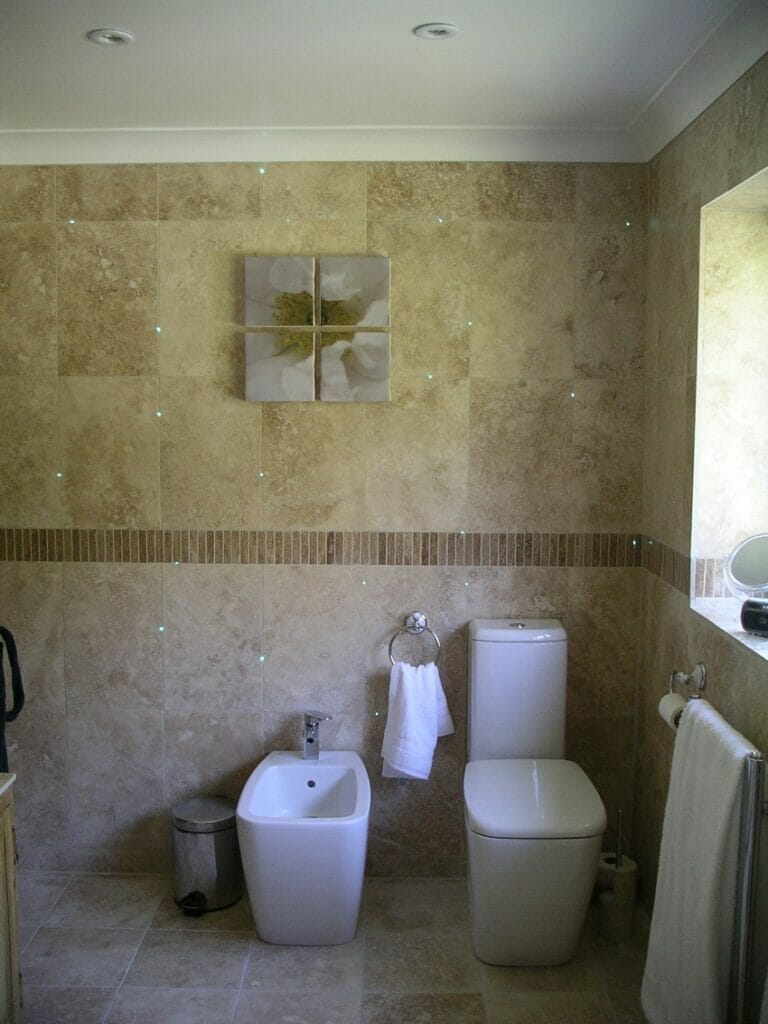
For the fibre “stars” in the wall a bit more planning is needed. You need to decide where you want each star to be and then run the fibre to that point from the light source. It’s not a bad idea to temporarily tape the fibres in place. Once the fibres are in place you then tile as normal, working backwards towards the light source. The fibres are simply bedded into the tile adhesive, with the projecting end bent through 90 degrees to come through the gap between two tiles. We’d recommend using either 0.75mm or 1mm fibre, since these sizes are very flexible.

You can create brighter stars by putting two or even three fibres clustered together. Once the tile adhesive has set you can grout between the tiles as usual, and once the grout has set, trim the fibres back flush. A hot knife is a useful tool for getting a really neat flush cut, and then a light sanding with a fine sandpaper will also help to achieve a good finish.

In the photos all the stars are blue, which suggests that the colour wheel in the light source must have been stopped on blue. As the colour wheel rotates it gradually makes a transition from one colour to another, so there are points in the cycle where half of the stars will be blue, for instance, and half will be green or yellow.
It is possible to take advantage of this and sort out those fibres which change colour first and those which change last and create two distinct zones. So, one wall could show blue stars while another wall – or the star ceiling – showed a second colour. If you are going to do this you need to start with fibres which are all long enough to reach any part of the room.
Anyway, as you can see from the photos, Christine has done a great job. “I thoroughly enjoyed managing this project,” she told us, “and had to get hands on for the lighting, as neither the electrician or the plumber had seen them before!!”

The fibres can go in holes drilled in tiles, but it’s easier to simply put them in the gaps.
